CAD playground
Test the drawing program from teknow.
We have prepared three different drawings to practice with. On the left there is a short text about what the drawing is about and what task is to be solved. Clicking on the picture on the right opens the drawing program with the drawing. You can change, extend, delete the drawing, or draw something completely different as you wish. The changes are not saved. If you want to restore the original drawing, you can simply close the window and reopen the drawing.
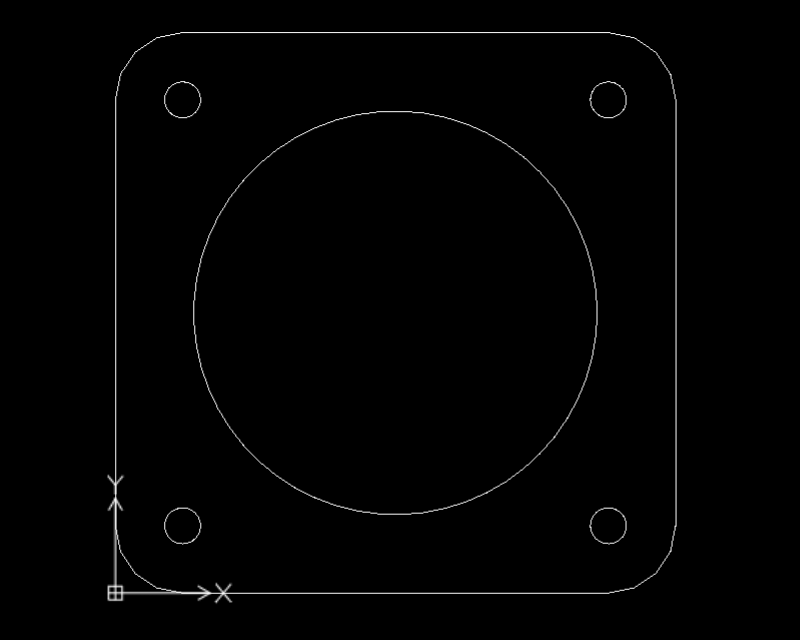
Example 1: simple geometry
The example shows a simple square flange with a central hole for the pipe, four screw holes and rounded corners. You can click on the “Update issues” icon at the top of the wizard window, then the “preview” of the workpiece will be displayed in green hatching on the drawing area to the right of the original. The workpiece can consequently be produced in this way.
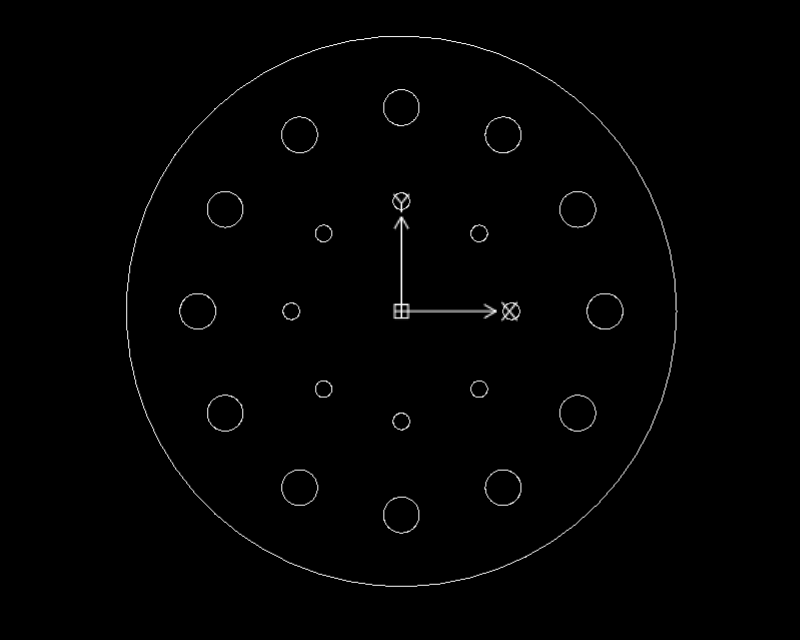
Example 2: drawing rules
This drawing contains a number of errors such as duplicate elements. You can display the errors – click on the “Update issues” icon at the top of the wizard window. The red markings indicate errors that prevent production. The “Repair all” function can be used to eliminate the errors in this drawing. The yellow markings are warnings that indicate that the structures are near the manufacturing limit and may tarnish. The warnings do not prevent production.
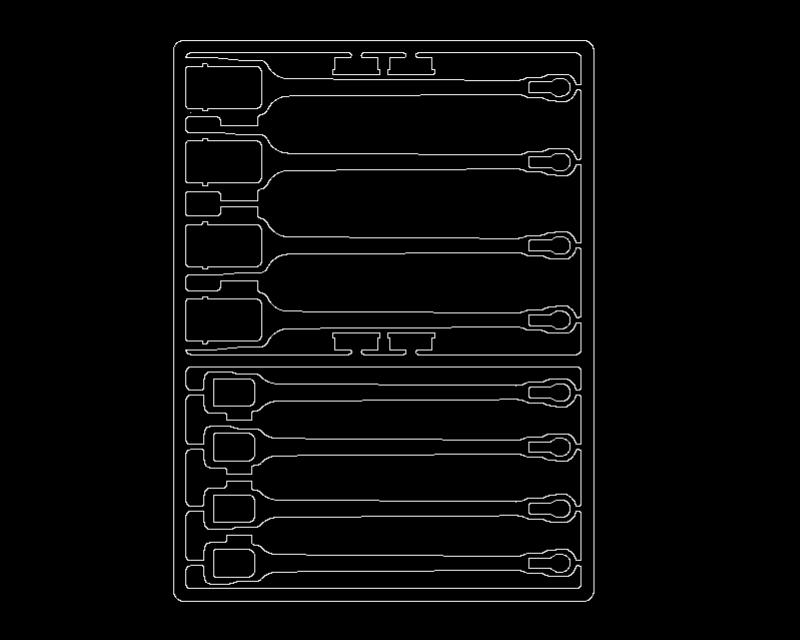
Example 3: Manufacturing rules
This drawing contains holes that cannot be cut with the laser because they are too small. The wizard shows this as an error. You can call up the “Browse” function at the bottom of the wizard window and process the errors one after the other. In the case of holes that are too small, there are, for example, the following options: Delete / Replace with minimum diameter / Replace with marking. All errors can also be eliminated in one action. The minimum diameter is the smallest diameter that can be cut out – it is marked with a warning that such a small structure may tarnish from the cutting heat. In a second round you can edit the warnings, but you don’t have to do that in order to be able to produce.