
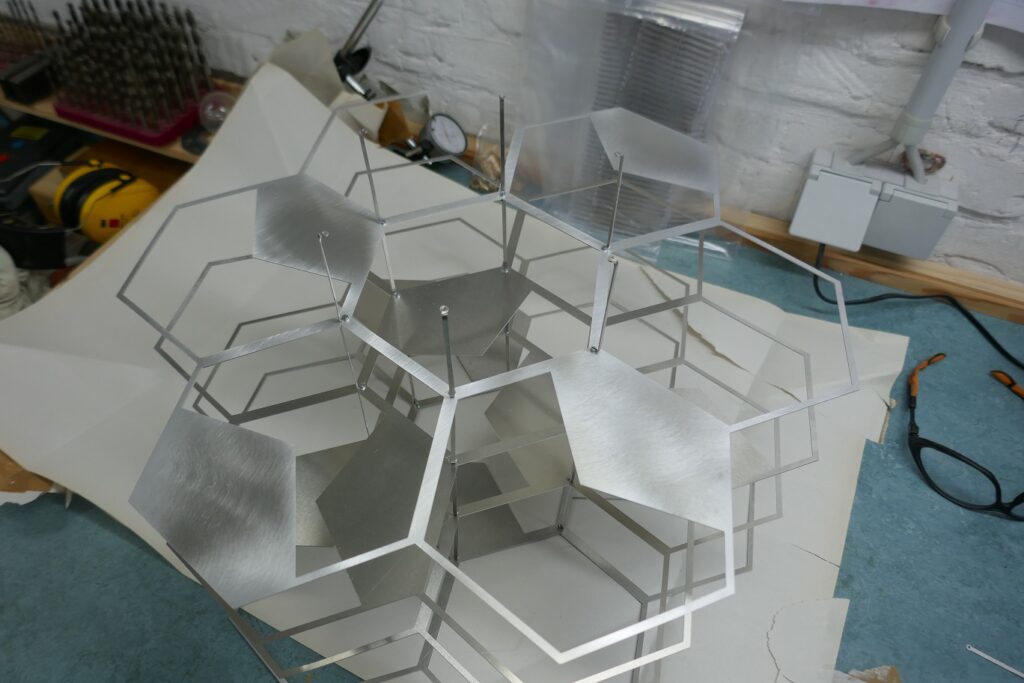
The lamp consists of several levels of thin aluminum sheets, part of which is filled with pentagons. All levels placed one on top of the other result in seamless packaging. To tile the plane with pentagons: https://en.wikipedia.org/wiki/Pentagonal_tiling Type 3 by K. Reinhardt (1918) is used here. Three pentagons put together form a hexagon.
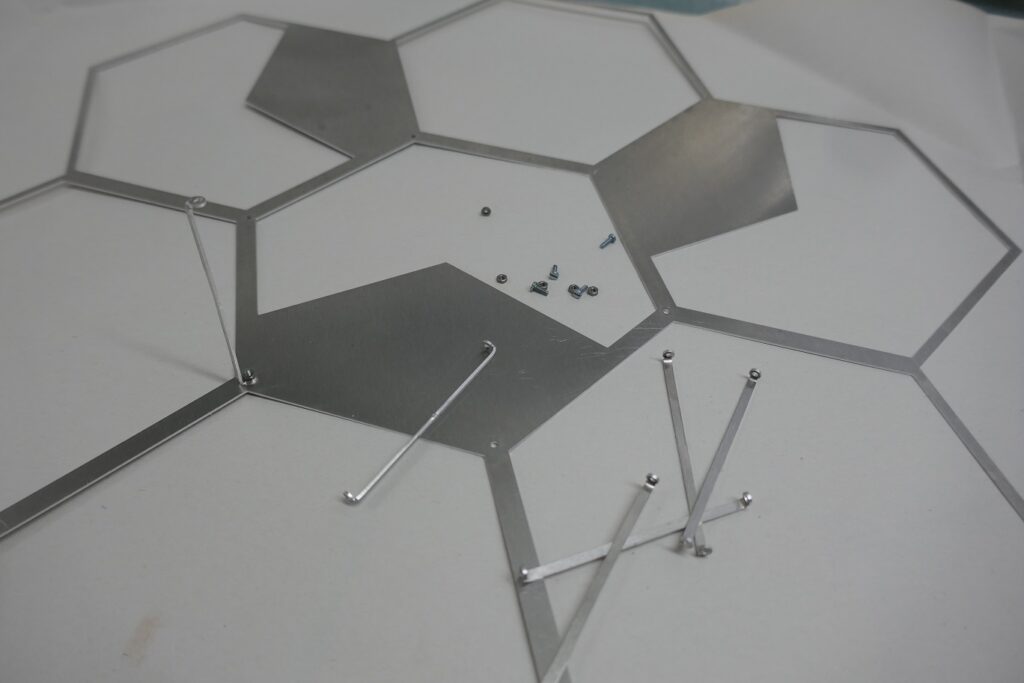
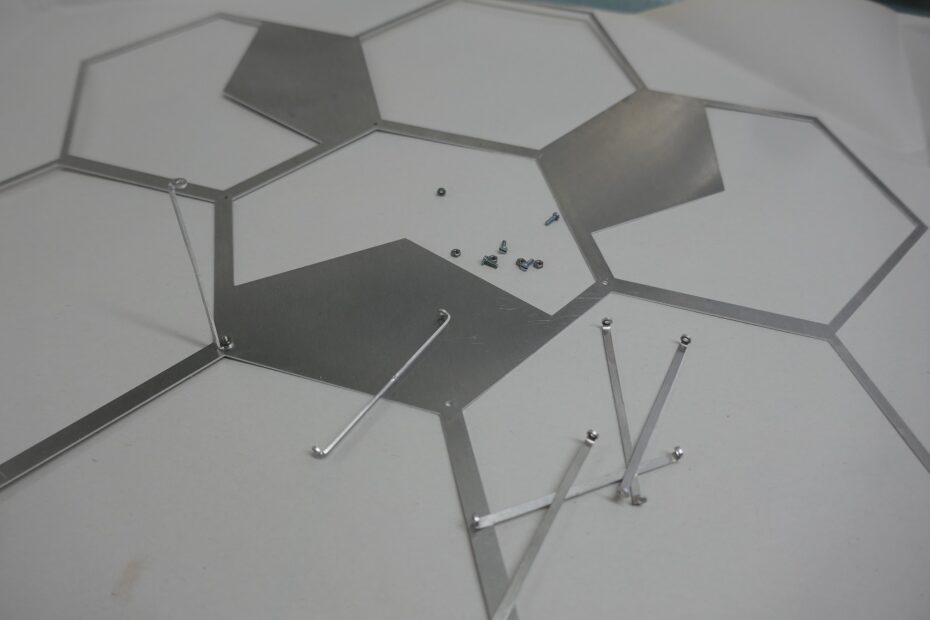
Left: Start of construction: The spacers are bent and mounted on the levels.
Right: The additional levels are always assembled so that the added pentagons cover the gaps in the levels below.
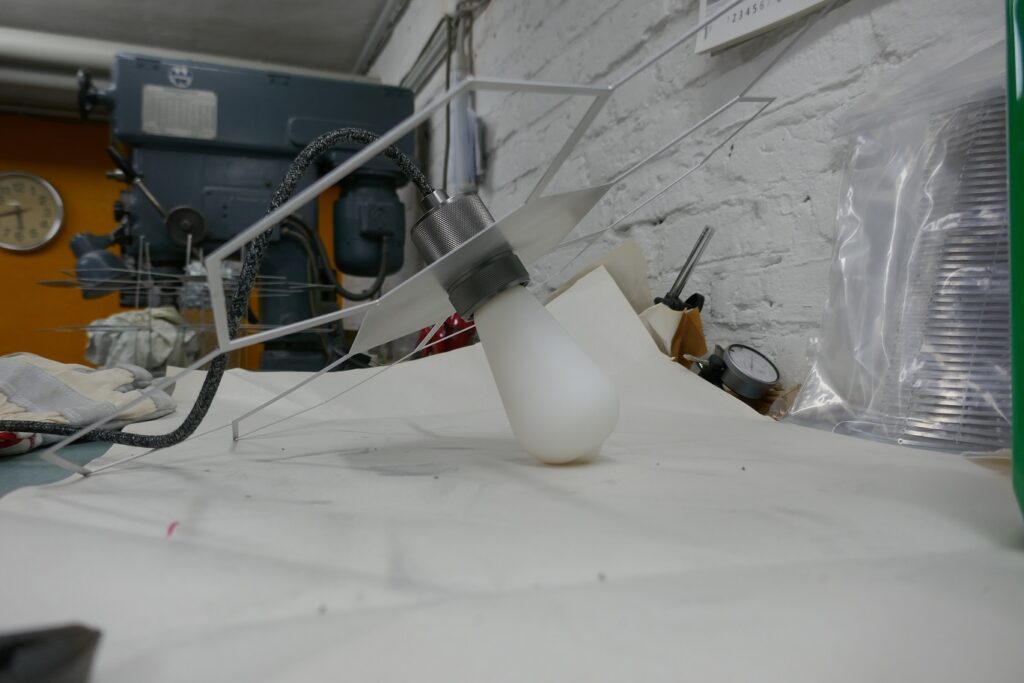
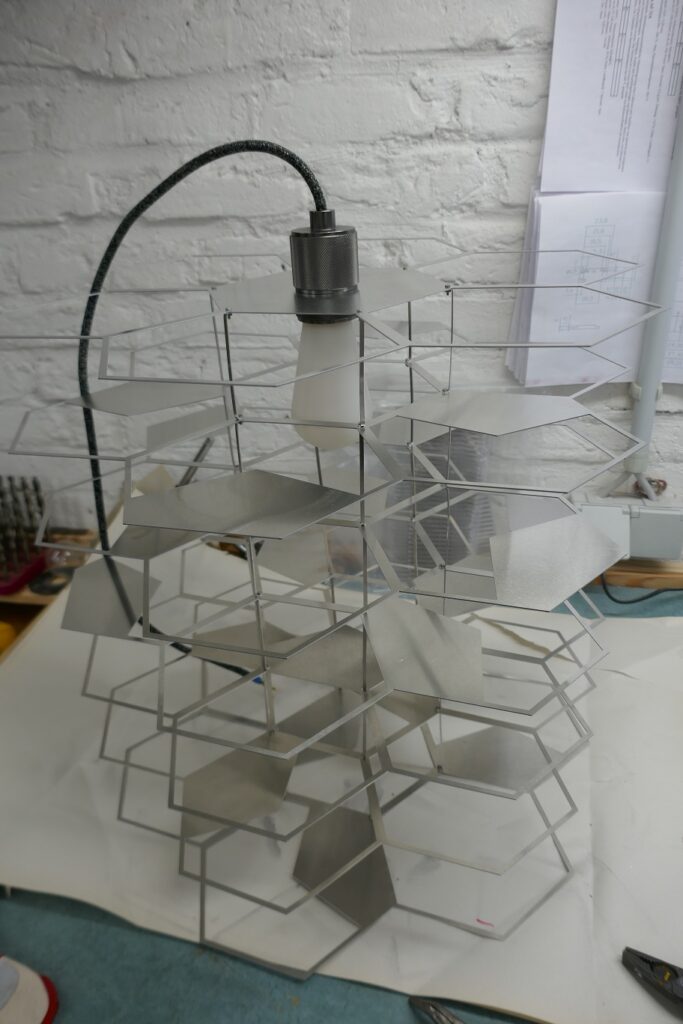
Left: The top level is provided with a socket for the lamp.
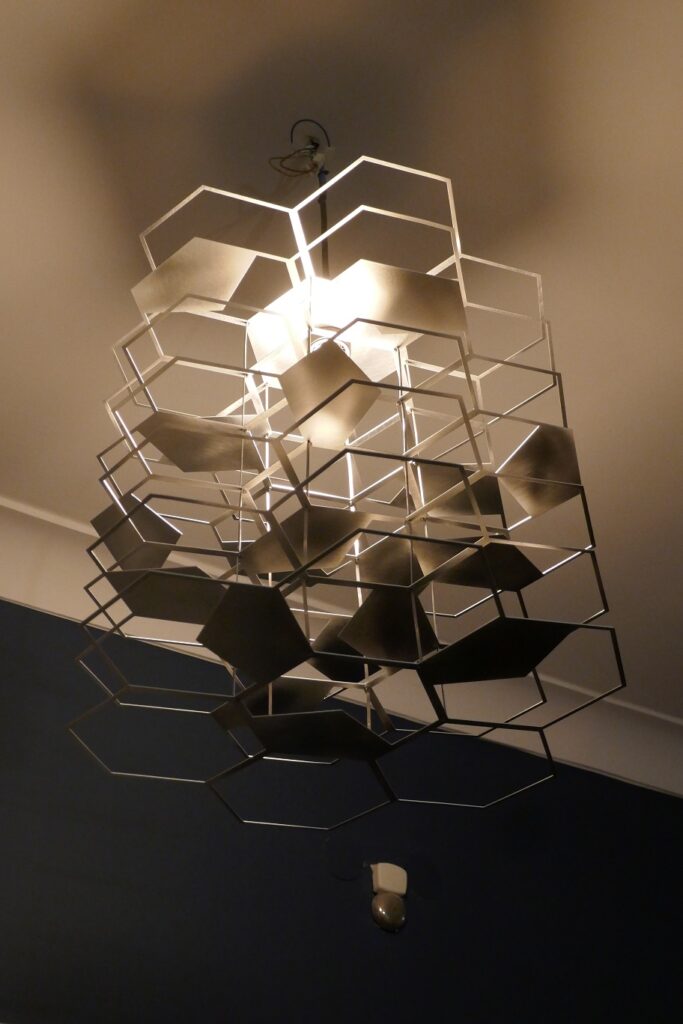
Right This is what the finished lamp body looks like.
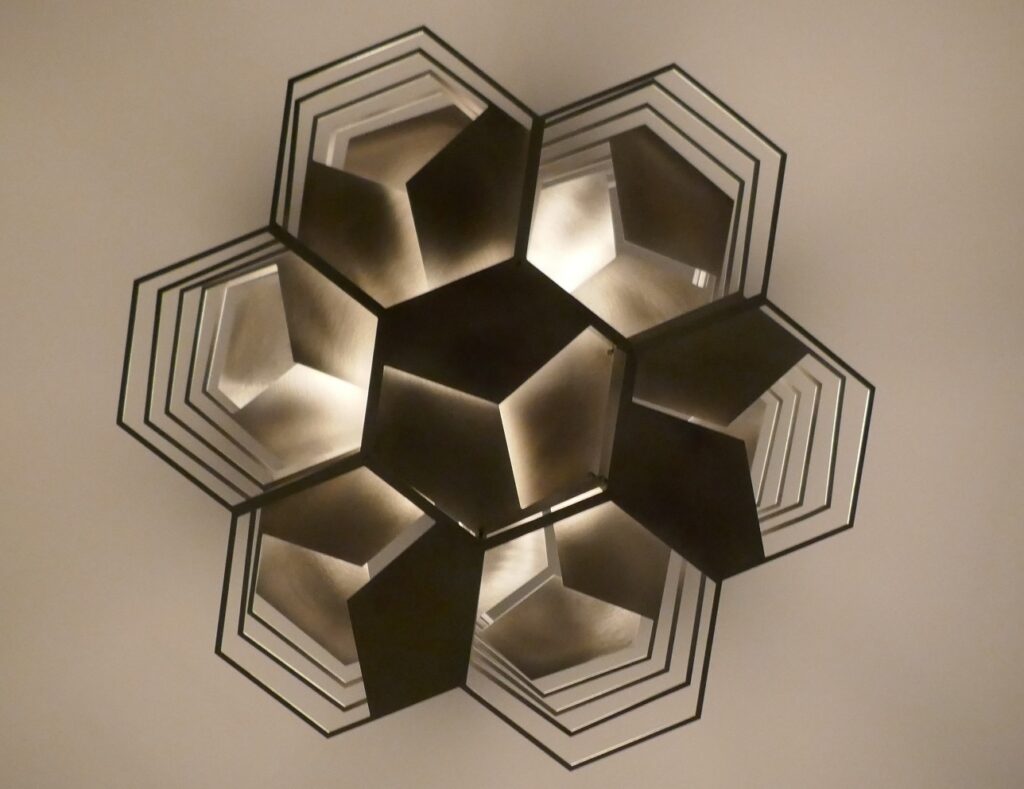
Left: View from below: the pentagons of the different levels tile the entire area. Depending on the height at which they are located, they are illuminated to varying degrees.
Right: View from the side.
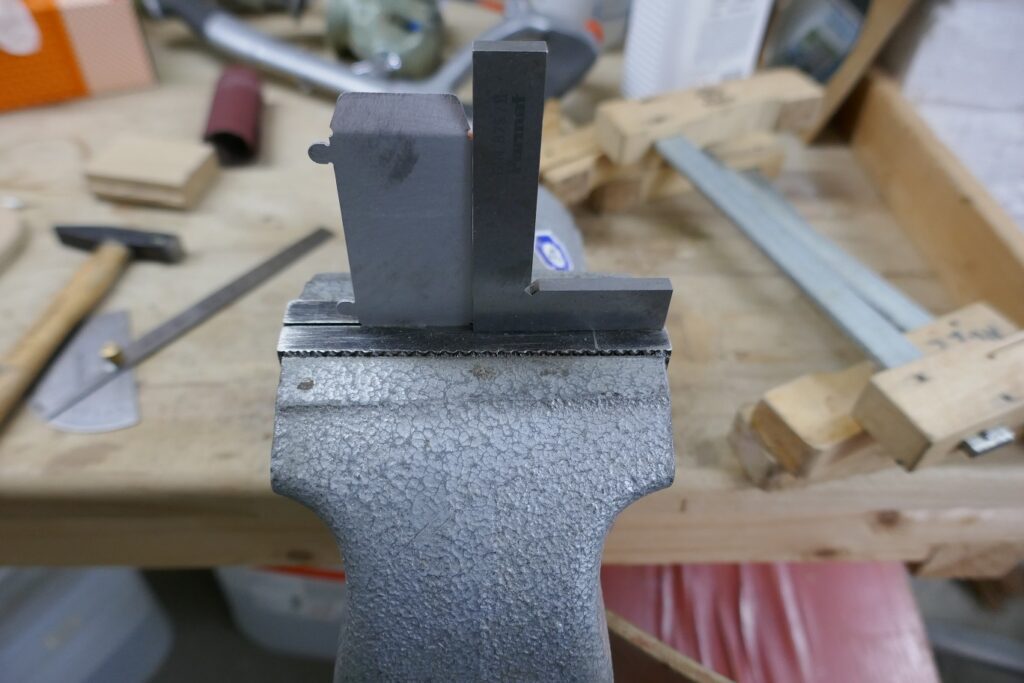
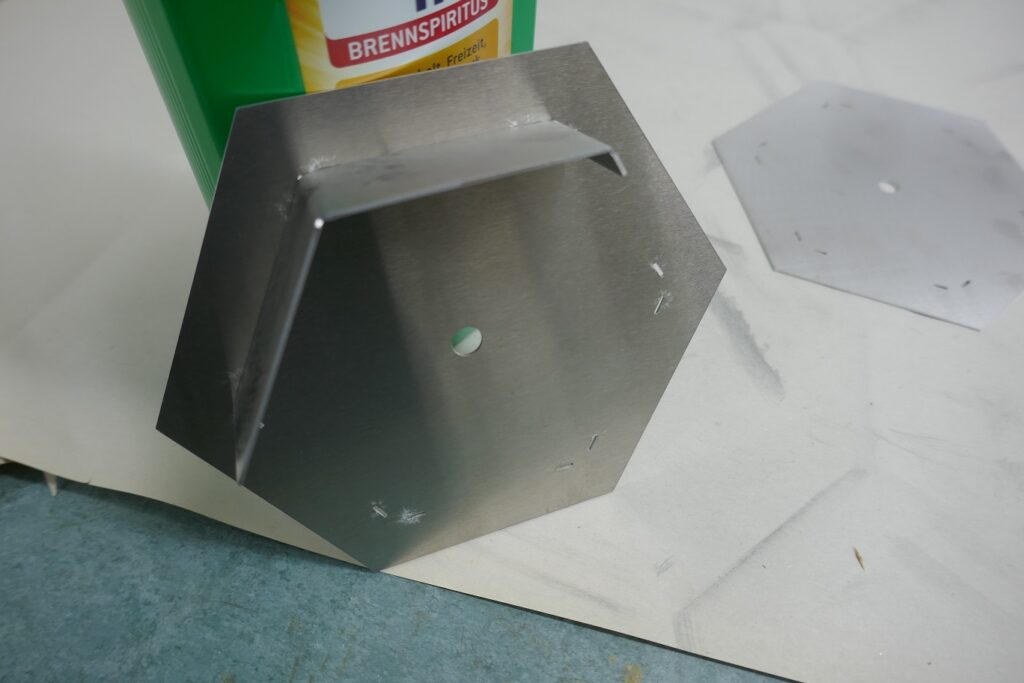
The next element for the lamp is a hexagonal crown for connection to the ceiling. This is also built from aluminum sheets. The connections are made using bent tabs, like those used on tin toys. Here one of the three side walls is bent by 60° in the vice.
The folded side walls are placed on the base plate.
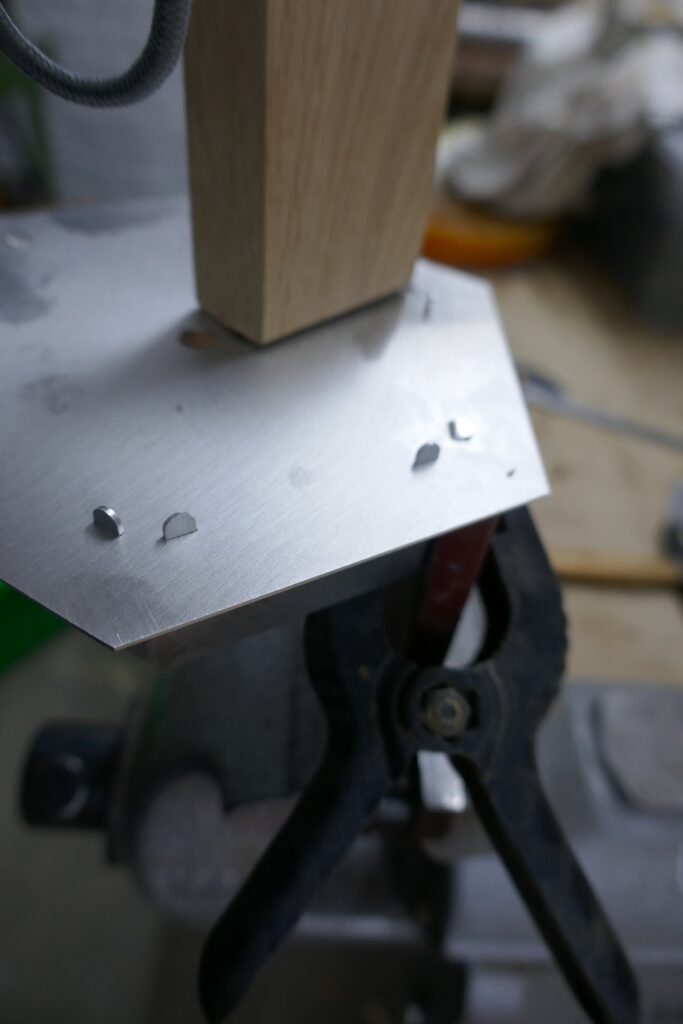
The tabs on the underside are then carefully bent over.
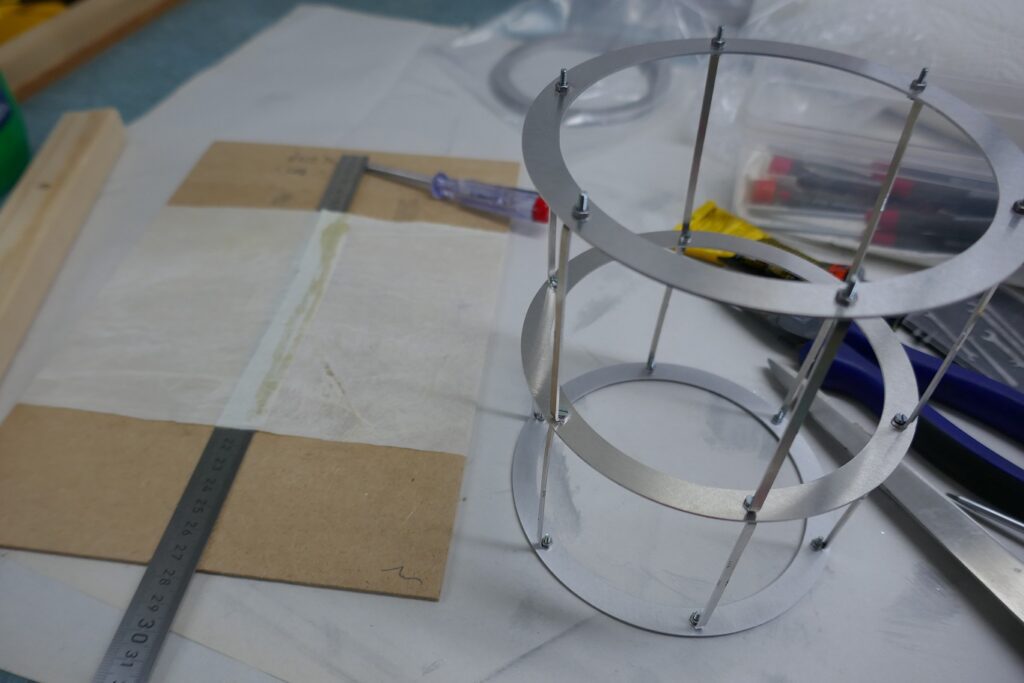
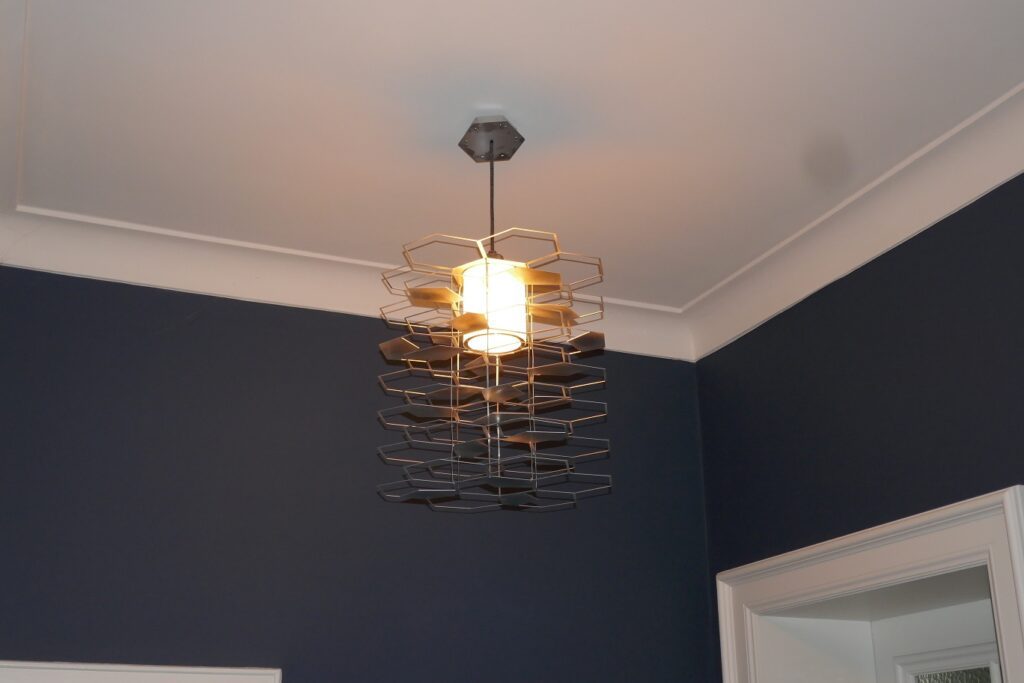
This is followed by an interior lantern. It surrounds the lamp in a cylindrical shape. Here you can see the basic framework, assembly again exactly as with the levels via the connecting bars.
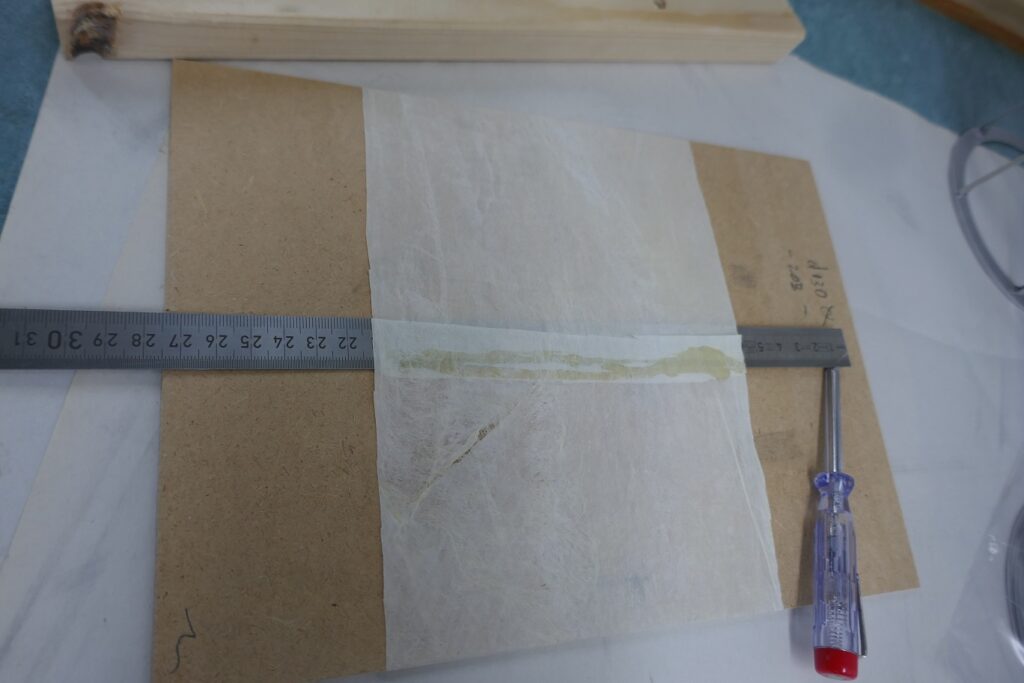
The cover of the inner lantern is made of gold beater skin. The combination of the materials aluminum and gold beater skin was used in airship construction at the beginning of the 20th century. The skin (consisting of the outermost layer of skin from the bovine cecum) was one of the few lightweight materials impermeable to hydrogen.
This is what the second example looks like, with an inner lantern and ceiling crown.